Technical Support
How to setup email account in Windows Live Mail
-
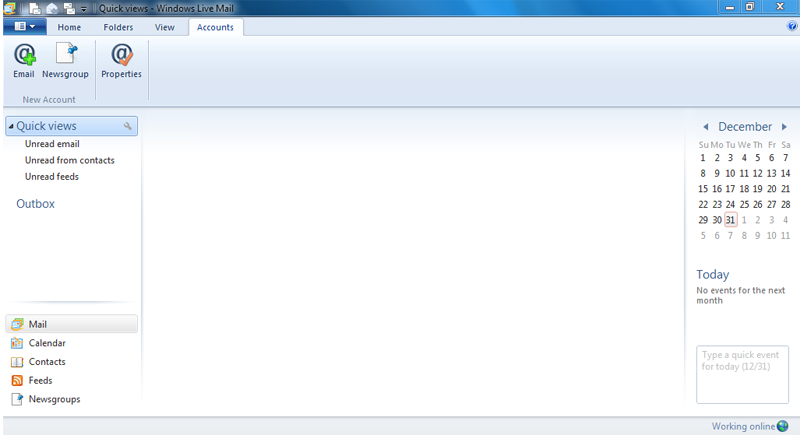
1. Open your Windows Live Mail, click "Accounts", then "Email..."
-
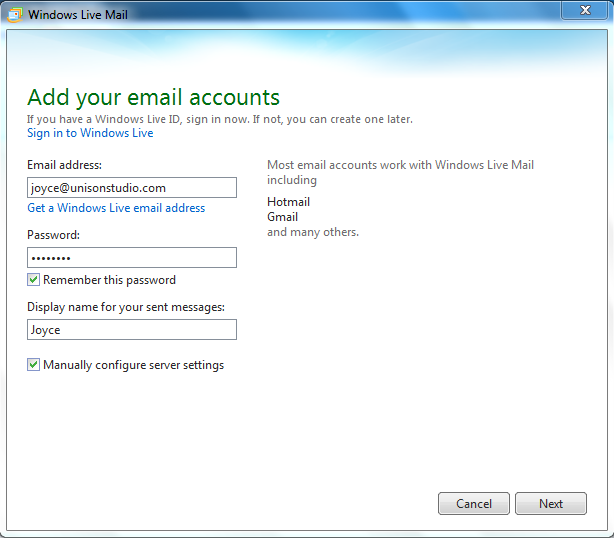
2. A new window "Add your email accounts" pop up as below, enter Your Email address, Password and Your Name (Your Display Name), click on the option Manually configure server settings, and click "Next"
-
3. Configure the server settings as below, and click "Next"
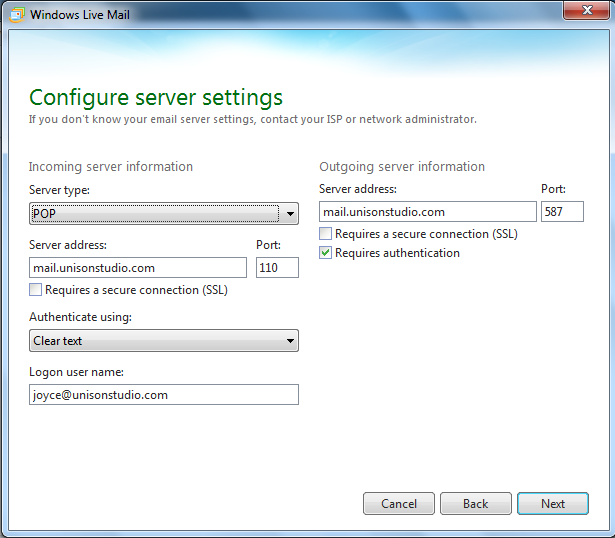
Server type: POP
Server address: mail.yourdomain.com (eg. mail.unisonstudio.com)
Port: 110
Authenticate using: Clear text
Logon user name: Your full email address (eg. joyce@unisonstudio.com)
Outgoing mail server (SMTP): mail.yourdomain.com (eg. mail.unisonstudio.com)
Port: 587
Make sure the "Requires a secure connection (SSL)" is unticked for both incoming and outgoing server.
Tick on "Requires authentication"for outgoing server -
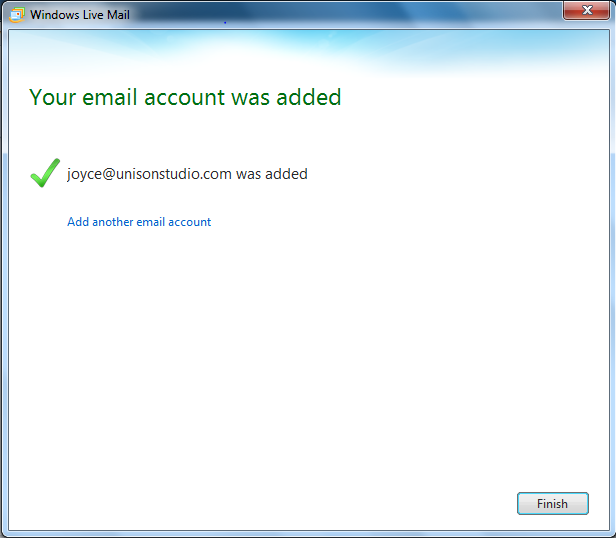
4. Your email account was added successfully. Click "Finish"
-
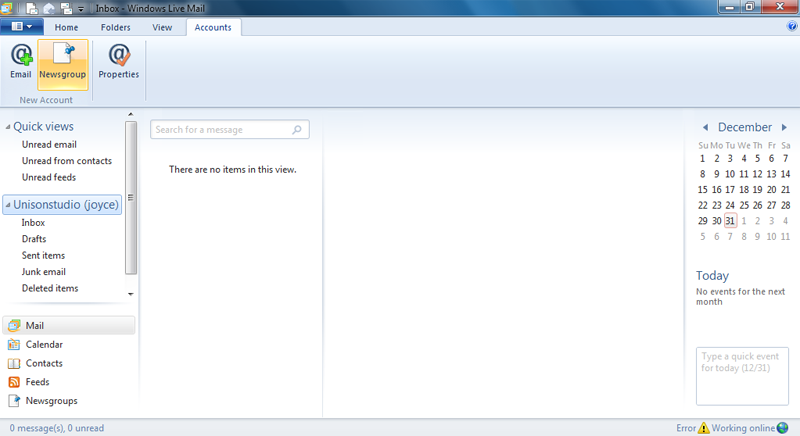
5. Go back to "Accounts", then "Properties...".
-
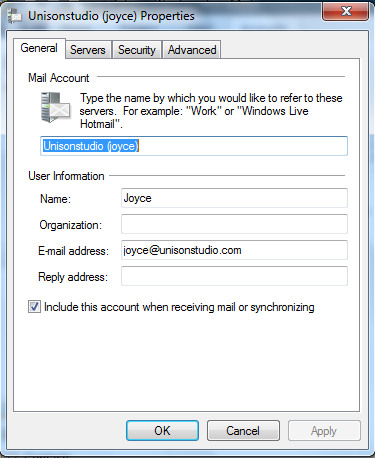
6. Make sure the information are entered correctly, Organization and Reply address are optional fields, fill if neccessary.
-
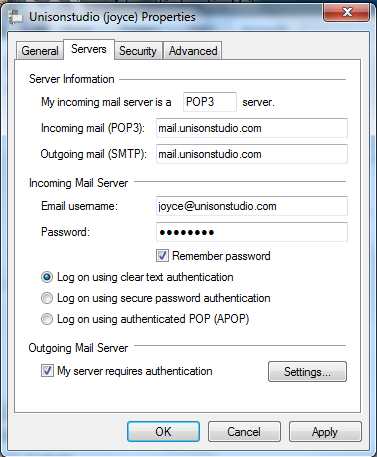
7. Click on "Servers" tab, make sure the server information are correct.
-
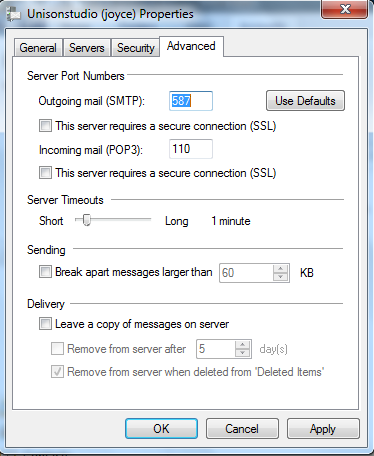
8. Lastly, click "Advanced" tab, drag Server Timouts to Long. If you choose to "Leave a copy of messages on server", we would advise to remove from server at most after 7 days to minimize the risk of overusage of disk space. Click "Apply" and "OK" to finish this Internet E-mail Settings.
